Sunday, May 3, 2015

Closet Takeover: My Organizing and De-Cluttering Tips

Yesterday, I took on the task of helping an anonymous friend clean out her closet.  Some of you may not be able to relate, but I love taking on anything that involves organizing and de-cluttering, even if it's not my own space.  It's always such a relief when it's done, and you realize there is weight lifted off of you that, perhaps, you never knew was there.  

(Before & After photos at the bottom of this post.)

Not sure how to get started on tackling that closet you know needs some attention?  Here are some of my tips for de-cluttering, organizing, and ultimately de-stressing your life:

1. GET MOTIVATED: The fact is, any space in your home that is cluttered and disorganized is going to cause you to feel stress, whether you realize it or not.  A messy bedroom closet, for example, is bound to create a stressful and frantic mood in your the morning routine if you can't find what you're looking for.  I know anytime I let my spaces get messy, it inevitably puts me behind in the morning, because I can't find things, and I'm working my routine around, well, a MESS!  Ever heard of the phrase "running around like a chicken with its head cut off?"  Yeah, that's me in the morning when I don't keep things tidy and clutter-free.  So try to imagine a home where things are in their place, and you can find what you need when you need it.  Sounds pretty nice, right?  Sometimes it's hard to get started, so just try to imagine what you want to accomplish and how much better you will feel when it's finished.

2. PULL EVERYTHING OUT, BY CATEGORIES:  The easiest way to take on the task of organizing a space is to start with a clean slate.  However, you don't want to just start randomly grabbing everything and throwing it out of your closet .  Start with one thing, and make "category piles."  For instance, with a bedroom closet, you could start off by pulling out all the clothes and making different piles for short sleeves shirts, dresses, pants, sweaters, etc.  Anything you DON"T want to keep, put in ONE separate pile.  You can decide later whether to donate it, sell it, or throw it out.  (My tip for deciding whether or not to throw out a clothing item is: If you haven't worn it in a year or more, you should get rid of it.)  If there are things you're still unsure of keeping, make a "maybe pile."  If there is trash in your closet, have a trash can nearby to immediately put it in.

3.  CLEAN YOUR EMPTY CLOSET: Dust it, vacuum it, make it sparkle.

4.  START PUTTING THINGS BACK IN:  Here's the fun part!  Now that you have a clean slate, you can decide where you want everything to go.  You may find that everything could end up with a completely different home in your closet than before, but it may make a lot more sense.  Assess your hangers/shelving situation.  Figure out which items you want hung, and which ones you want folded.  When folding, keep like items together.  When I hung my friend's shirts back in, I put them in a color-coordinated order.  It makes things so quick and easy to find.  If you're looking for your favorite blue shirt, it will be right there, with all the other blue shirts.  I hung her dresses separately.  Assess your hangers/shelving situation.  Figure out which items you want hung, and which ones you want folded.  When folding, keep like-items together.  After all your "yes" items are back in the closet, go through your "maybe pile" if you have one.  You may find it's easier to make a decision on these items after seeing what you are for sure keeping.  Consider whether or not you may need additional hangers, storage boxes, hanging cubbies, sticky hooks, etc.  You can shop for these items after you've gotten everything back in the closet and realize what you need.   Likely you'll end up with a lot less in your closet than what you started off with, so you'll probably have more space for these organizational tools.

5. DECIDE WHETHER TO DONATE, SELL, OR TRASH UNWANTED ITEMS:  Only you can decipher what is best for each unwanted item.  Usually, clothes with holes, rips, or stains should be thrown away (or, as I usually do, you can cut them up to make eco-friendly rags).

6. ENJOY YOUR FRESH, ORGANIZED, AND CLUTTER-FREE CLOSET:  After we finished, my friend actually said she may just want to hang out in her closet from time to time (lol).  I promise, you'll feel so much more at ease and your daily routines will be less stressful and frantic. 


Sunday, February 1, 2015

DIY Painted Mirror (under $15)


Supplies needed:

A Mirror.  I found mine at Goodwill for $5.
Stencil(s) of your choice.  I chose Celtic knots, of course.  I found mine at Hobby Lobby for $5 combined.


Gloss Enamel Paint(s) or any liquid paint that can be used on glass, in color(s) of your choice.  I used metallic gold and white.  (Usually under $2)

Stencil paint brush or sponges.  I used both.  Makeup sponges will work just fine. My brush was $2.99 @ Hobby Lobby, and the makeup sponges can likely be found a dollar store.

Painters tape.  


Prep:

If your mirror is very dirty, clean it with soap and water first, and then clean with glass cleaner spray.  If your mirror is not very dirty, you can skip the soap and water.  You'll notice that my mirror has some scratches and spots that I was unable to remove, but I think it will add character.  It will fit in with my decor, since I have a shabby-chic vibe.


If you're making a pattern with your stencils, it's a good idea to use a ruler and a dry erase marker/chalk marker to mark off the mirror that everything is evenly spaced and alined.

Use your painters tape to keep the stencil in place while you tab on the paint.  It may take you a couple tries to get the right amount of paint on your brush or sponge.  I used too much initially, and had to wipe off the first couple with a clean, damp rag.  After a couple tries, I got the hang of how much paint I needed for each stencil.  A little bit goes a LONG way with the sponges!


Once you're finished, you can easily wipe off your guidelines.


I can't decide if I want to hang this mirror or just lean it against the wall.  What do you guys think?  

You can really do this with ANY mirror.  Get creative!


Wednesday, October 1, 2014

My Home Away From Home

For some reason, I've been in love with this house since the moment I laid eyes on it.  Yeah, it's falling apart and virtually beyond saving, but I focus on the beauty in its decay whenever I'm in its presence.  There's something different about it each time I make a visit, and I can't help but dream about the beautiful home it once was to a family.


Mom was kind enough to take some shots of me.  They turned out pretty well after quite a bit of  coaching on how to work my Nikon ;)


Monday, September 22, 2014

Beauty and Fashion Trends I'm Loving for FALL


The gorgeous colors of autumn aren't just for the clothes on your back.  Try to incorporate those warm and cozy colors into your smokey eye look.  Here's a tip: coppery tones complement blue eyes, bronze tones complement green eyes, and plum tones complement brown eyes.  I love breaking out my coppery/bronzey eyeshadows in the fall for a spicy, smokey eye. 


Big, bold brows are back!  They haven't been quite this big of a trend since the dawn of the infamous Brooke Shields brows.  If you haven't yet, try setting aside your tweezers for a few weeks and canceling your waxing appointments.  I know it sounds impossibly difficult, but I did it myself and it really wasn't as bad as I imagined.  Yes, there is bound to be a week or so when things feel a bit awkward and perhaps wonky, but I found it was worth it to achieve a more natural, bold brow look.  If you have naturally thin or light eyebrows, try using a brow pencil to define them and make them look SLIGHTLY fuller.  The key with this technique is to use a brow pencil or powder that is actually slightly lighter than your natural brow color.  The darker you go, the more unnatural they'll look.  Happy grooming (or lack thereof)!


This is a beauty trend that has stood the test of time through the ages, and I believe it will never die.  There's nothing more classic than a bold red lip, and fall is the perfect season to try it out.  I encourage you to go a little darker than the average red.  Try dark, deep reds, burgundies, or deep berry shades.  And remember, it's always a good idea to go easy on your eye makeup when doing a bold lip.


The poncho, it's come in and out of style several times.  I've always been kind of on-the-fence about them.  However, after looking through runway photos this year, I realized I am actually really loving the trend.  Besides, they look so warm and comfy!  I think they can actually work if you style them the right way.  I would definitely suggest wearing a trendy poncho with skinny jeans/pants and boots/booties.  Obviously, you'll look like a bag lady if you strut your stuff in a poncho while wearing sweatpants.  So, dress responsibly ;)


Here's a cool trend I stumbled upon while checking out the photos of the Burberry Fall Show for this year.  Long scarves in fall colors/muted colors worn hanging in front and belted as a sort-of clever accessory to a dress (or a long sweater, I suppose).  It really adds a fun element to your outfit and is a neat way to make a dress or long sweater look like something new.  You don't necessarily need to belt the scarf (b/c I know it's not flattering on all body types, including mine lol).  But just wearing a long scarf without wrapping it around your neck is a cool and different way to wear it and jazz up your fall outfit.


Comment below if you'd like me to post a video tutorial on how I do a fall smokey eye :)


Sunday, August 24, 2014

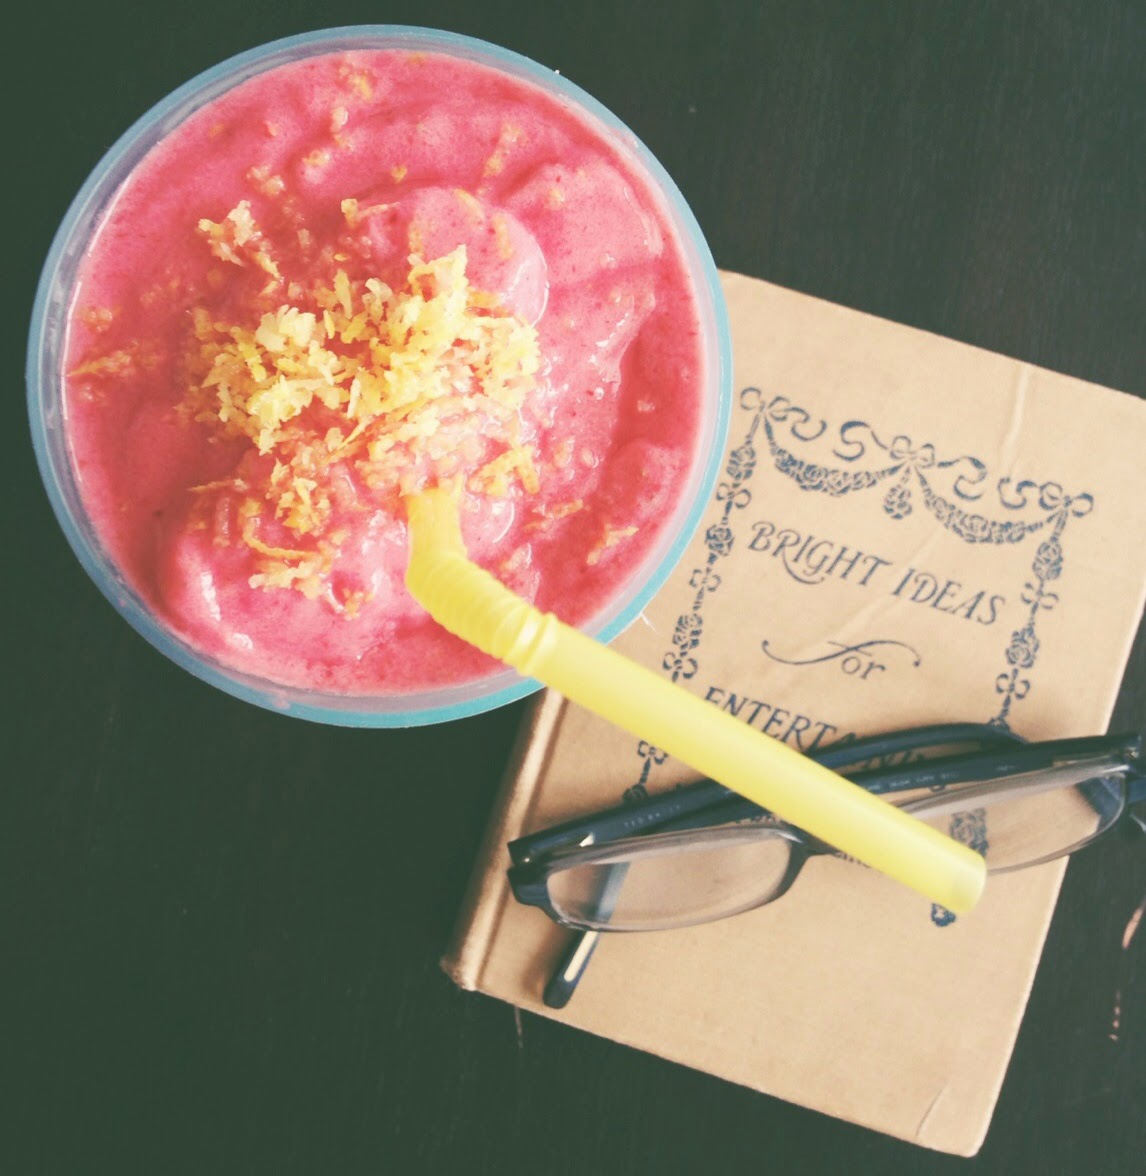
Pink Lemonade Smoothie (no added sugar)


2 - 2 1/2 Cups Frozen Red Berries
(I used mostly raspberries, and a few strawberries)
3 Cubes of Fresh Pineapple
1/2 of a 5.3 oz container of Strawberry Chobani Greek Yogurt
1/4 Cup Absolute Fruit Raspberry Sorbet
2-3 Lemon Wedges
(Use the fruit only, cut the peel off completely.)
Coconut Water
(Use as much as you want depending on your desired thickness of the smoothie.)
Lemon Zest for Topping
(optional)


Wednesday, August 20, 2014

Olive & Roasted Red Pepper Pizza (with lemon)


Ingredients

Pizza Crust 
(I used the Betty Crocker crust mix that you just add water to, but you can use any crust you desire)
Olive Oil (approx 1 tbsp)
Kalamata Olives
Red Peppers (sliced in thin strips)
Fresh Oregano (chopped finely)
Slices of Lemon (in very small pieces - without the peel)
Feta Cheese
Lemon Zest
Salt & Fresh Ground Pepper

(The amounts of all the ingredients depend on your taste.  I went easy on everything, as not to overwhelm my taste buds, you can kinda tell by the photo below.)

Directions

Preheat your oven according to the pizza crust instructions.

Use the heated oven to roast your red peppers.  I just laid mine on a baking sheet with a light spritz of cooking spray until they started to get slightly charred on the edges. 

While your peppers are roasting, start by preparing and/or laying out your pizza crust out on a baking sheet.  

Spread olive oil over the surface of the pizza crust.

Add the olives, peppers, oregano, and lemon slices (and salt & fresh ground pepper to taste).

Bake for the amount of time according to the pizza crust instructions.

Add the feta cheese and lemon zest during the last 3 minutes of baking.

Let cool for a few minutes before cutting and serving.  Enjoy!


This recipe was inspired by an appetizer I tried at Table 45.